| This is a 19 foot 1957 Bell Boy Cuddy cabin boat for full restoration back to her glory.
Page 3 of many |
|
|
|
|
|
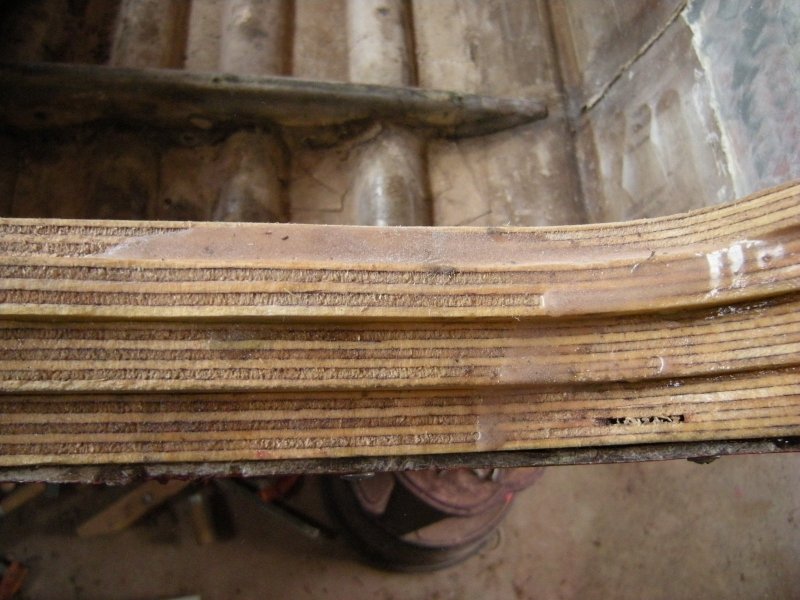
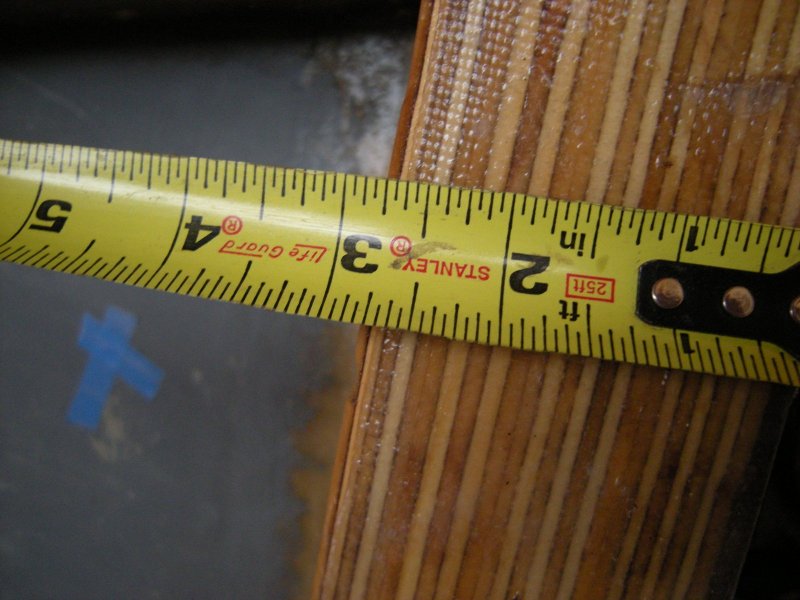
This makes the transom 2 and 3/4 inch thick. No flex, glass both sides of each layer, all holes glass filled. |
There is always a void to fill on the edges no matter how good you get at it. This was a mix of Epoxy Resin and glass fibers in a paste. Goes in well with a putty knife. This goes in on each layer too. |
|
| |
||
 |
 |
|
Just
more of the fillit |
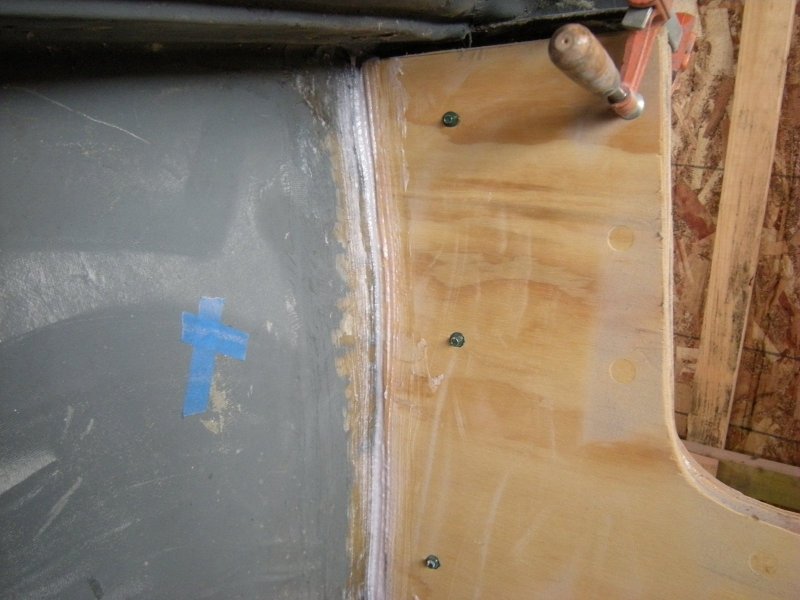
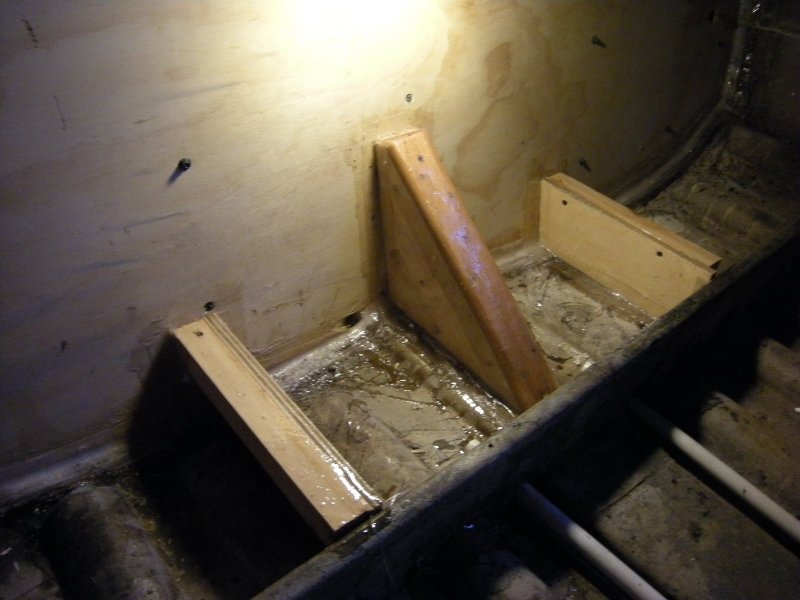
Its time to put the knee in and build a damn to keep the foam from getting into this area. The foam will be on both sides of this box. |
|
 |
 |
|
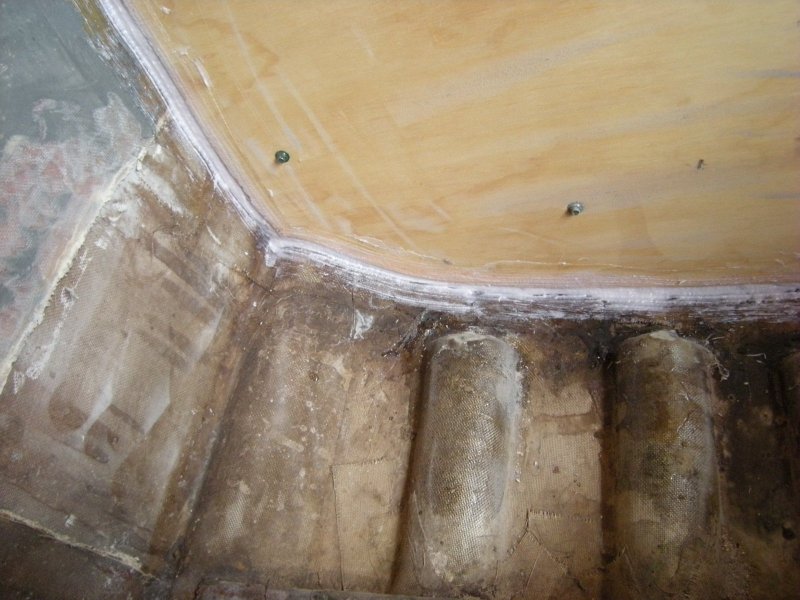
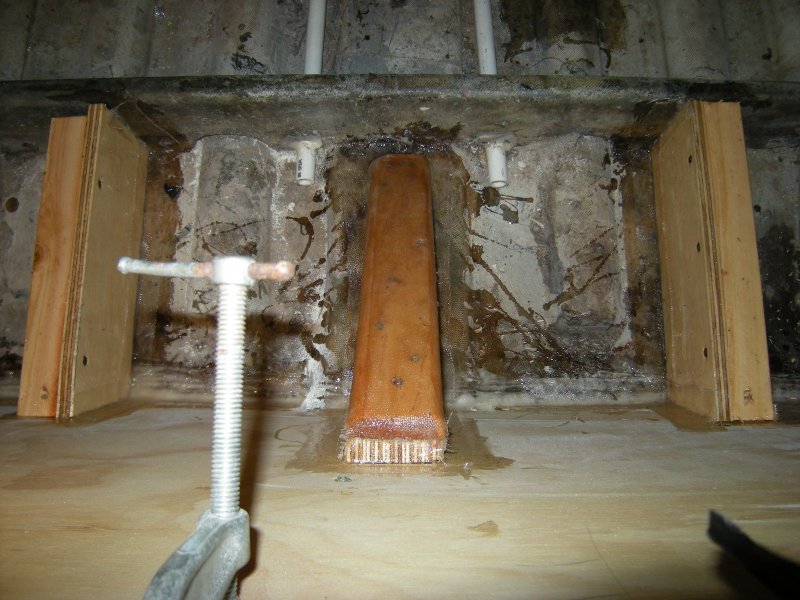
Just
another view of the knee and fillit. |
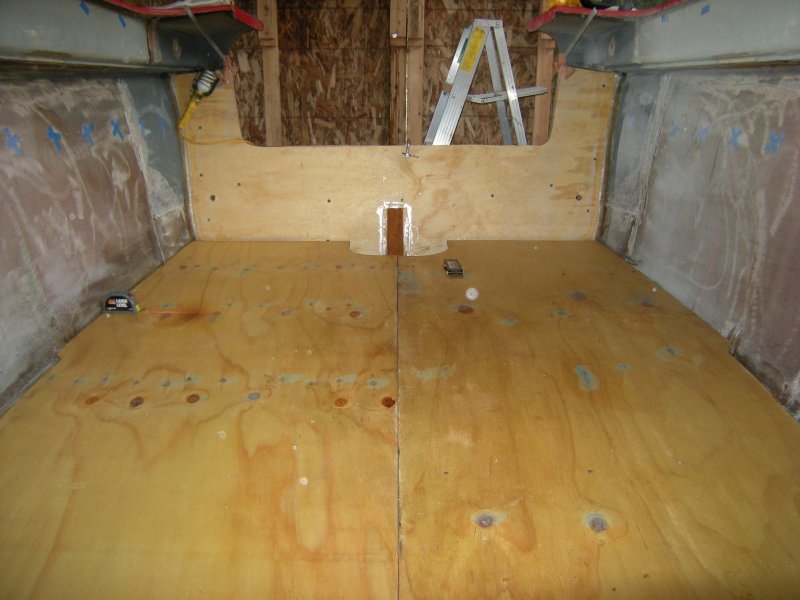
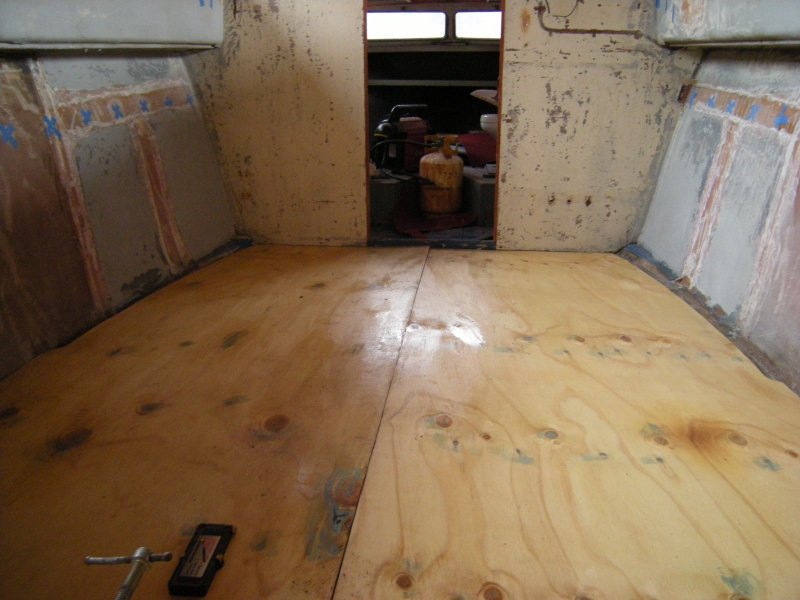
Next is the floor. |
|
 |
 |
|
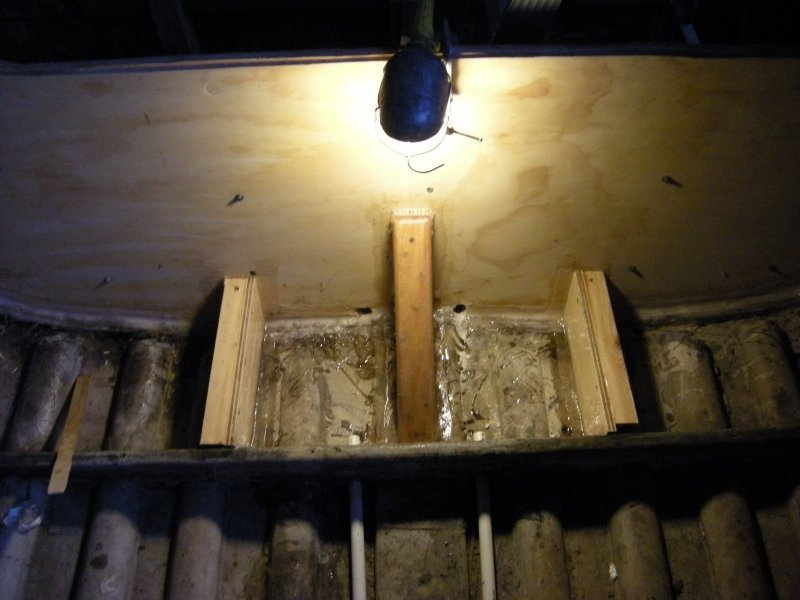
After fastening down the floor with all stainless fasteners, all the sides and seams have been taped and glassed to keep any water from ever getting under the floor. |
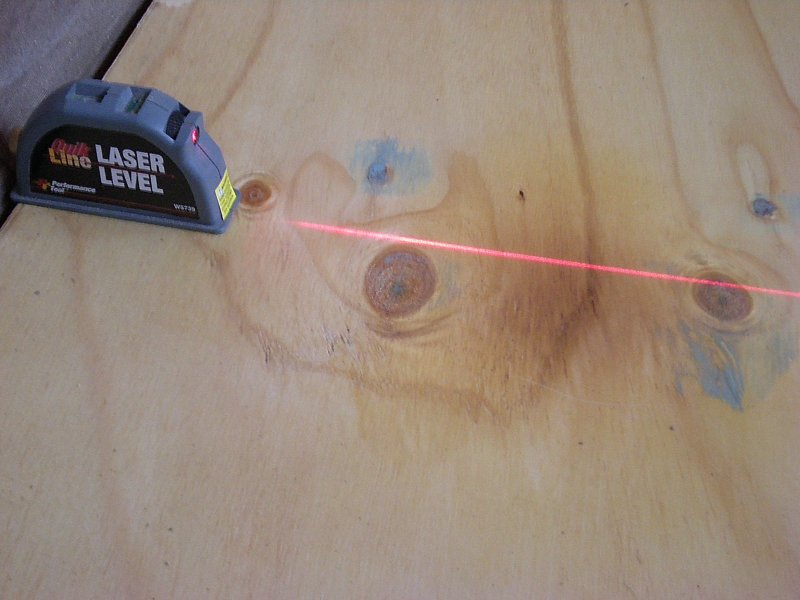
Little trick before the floor goes down for the last time. I marked the frame locations on the side of the hull as so I would know where the center of the frames would be. Laser works great for this. |
|
 |
 |
|
Here is a picture, out of order showing the port side has been covered with fiberglass matting for better strength and wear. It does show the cabin floor going up to the cabin bulkhead. |
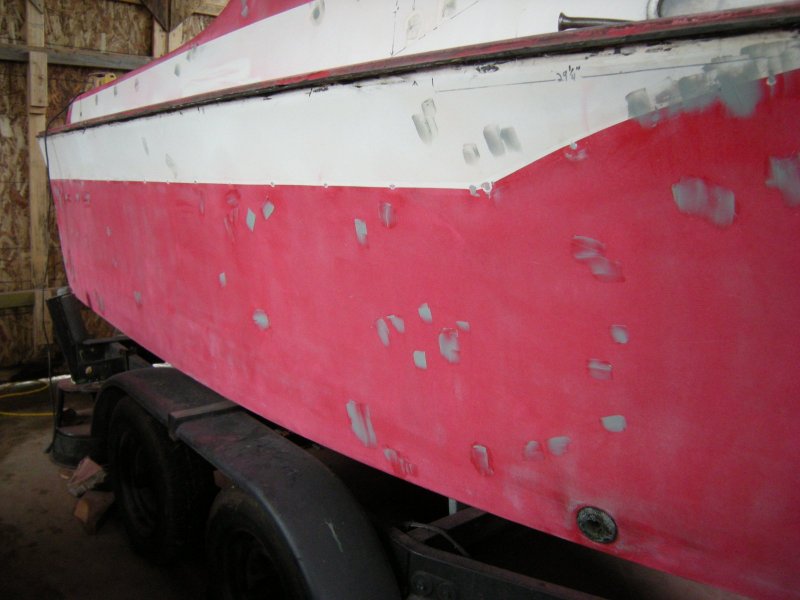
The best way it to just flat fill all the holes and start fresh. This keeps the Epoxy slurry from running down the insides of the hull and cabin top. |
|
 |
 |
|
All the small holes can be filled with the Evercoat Lite Cat Hair mix. (They really don;t use cat hair, its Fiberglass hairs ;-) Larger holes have to be ground and Fiberglass matting built up to make sure it never stress cracks or opens up.. |
Here is the 2 and 3/4 inch transom. Hang a big horse on this one if you like. |
|
|
||