| This
is the insides were most of the work seems to have been.
Lots
of pictures. |
Rear
Left
Side
Right Side
Insides
Bathroom
Cockpit
Home
|
|
|

|
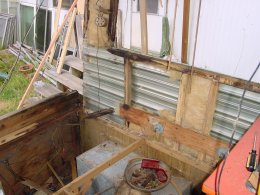
This
is were I got started on the insides.
Pull
it all out and start from scratch |
|
Just
over the sink we had this leak to deal with. Come to find out they didn't
have the main roof skin on right. This took some doing to fix but No
leaks. |
|
Click
on any image to see larger image. |
 |
|
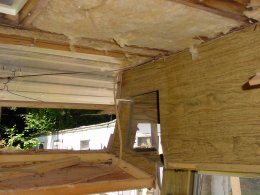 |
I
took it clear down to the floor and replace all the rear seating and
bed area with Cedar to keep it as light as possible. |
|
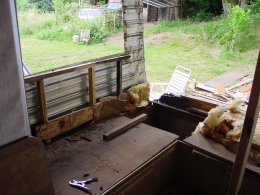
Here
I ended taking out all the cabinets and storage area. It had leaked
around it all and I was this fare so Riper out. |
| |
|
|
 |
|
 |
This
storage tray was in the upper right rear corner. Gee, I can see the
light. |
|
Down
she comes
I
replaced everything down to the floor. |
| |
|
|
 |
|
 |
This
was more of that crooked roof problem. I was able fix it and replaced
the ceiling as well. |
|
Yup,
Ripped it all out to make a Big hole.
I
should have taken better measurements but oh well, I got it figured
out. |
| |
|
|
 |
|
 |
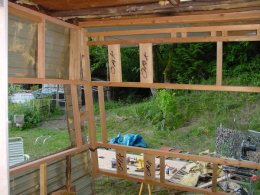
As
you can see, I have it all framed in and even put the Oak were the roof
ladder will mount. I did the same for the ceiling for the top of the
ladder and the roof rack. |
|
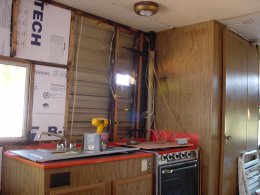
I
added a vent, rewired the whole deal with a floating ground as not to
have grounding problems.
All
the wires passed though some brake line Tubing that I cut and inserted
into the beams as not to hit it with staples. |
| |
|
|
 |
|
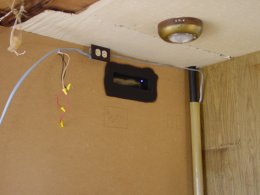 |
The
old hood over the stove was making some weird noise's so I knew it was
close to going out, so Out it came. |
|
We
were able to score a new microwave with hood for Dirt cheap but the
outlet for the vent was in a different place.
Not
a problem, just make a new hole. |
| |
|
|
 |
|
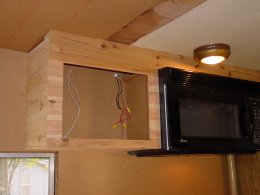 |
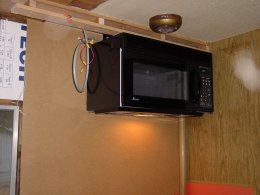
Not
too bad. I built a mounting frame to hang the microwave from. I attached
the frame to the ceiling joists. |
|
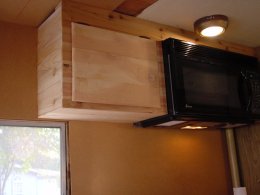
I
took some $1.62 cent cedar fence boards and ran them though the planer
and found that they work pretty good for this. |
| |
|
|
 |
|
 |
I
even made the door out of the cedar fence boards. Worked out pretty
nice and Cheep too. |
|
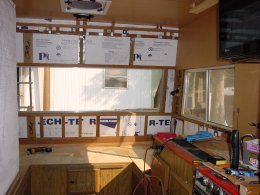
Now
that I got the cabinet done I finished putting in the insulation. That
was a Lot of cutting and I found it was easy with a old fashion miter
saw blade.
Lets
see, were did put that 3M glue again ;-) |
| |
|
|
 |
|
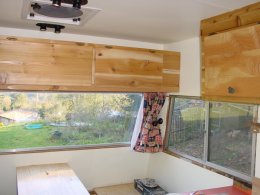 |
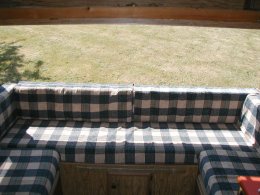
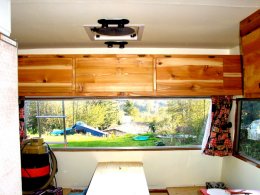
Here
you can see we put the paneling up and painted it. I also added more
cabinets across the back for storage, built a new table and we are
ready to roll.
|
|
This
is just a lighter picture of them but you can see around the windows
that I need to put the trim on them. Lets see....I wonder of I have
a few more fence boards left. I will just plane them down to 1/4 inch
and seal them.
Yup,
that will work but We are out of here now.
ROAD
TRIP ! |
0