|
This
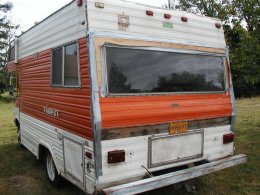
is what started this whole project. I knew the rear was rotten and part
of the sides but not sure how fare up I would have to go until I got
into it.
Glad
I did as this is Perfect for the two of us.
I
like it.
|
Rear
Left
Side
Right Side
Insides
Bathroom
Cockpit
Home
|
|
|
|
|
|
I
was afraid to roll down one of the front window in fear of not knowing
what window would blow out into the street first, the Rear or one of
the back side windows. |
|
The
back window was screwed to this chunk of plywood to get it home. |
|
Click
on any image to see larger image.
|
 |
|
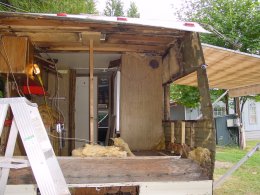 |
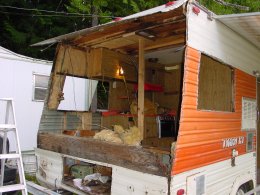
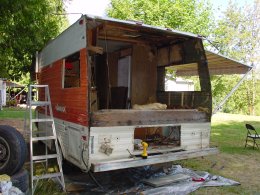
This
shows me still taking it apart. Even the roof is sagging. |
|
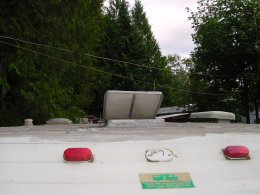
I had jacked up the roof to hold things in place. I then started
replacing the rafters in it too. I found some exterior wood that had
dried and was bowed. I put the Bow's Up to help hold the roof in place. |
 |
|
 |
This
sucker had about a 2 to 2.5" sag in it. Once I was able to replace
the rafters, it stayed were it belonged. |
|
Well,
the Top half is gutted and now ready to start going back together. |
 |
|
 |
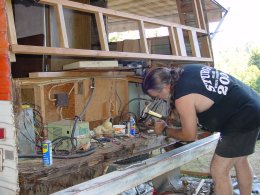
I
laid out the rear frame work as to Glue and Screw it all together. |
|
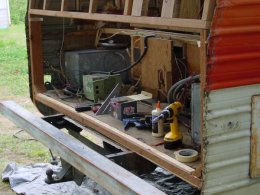
I
even fitted the Ladder rack and put Oak blocks to were it would attach
too. This was part of the Leak problem it had. I didn't want this thing
to move at all. |
 |
|
 |
|
Now
on to the lower section.
This
to was pretty rotten right at the back end. I was able to dig this out,
pull all the staples and slide in a exterior 2x6 that had to be pounded
in.
It
too was Glued and Screwed.
|
|
I
had to replace the rear base board between the floor and sub floor.
Other than that, it all was pretty solid.
I
was able to drive in a 2x6 here and attach both the top and bottom peices
to it.
|
| |
|
|
More
on the back panel soon. |
|
|